
I love a good bike basket. There’s just something nostalgic and downright picture-perfect about them–don’t you think? I’d been wanting to get one last summer for trips to the farmer’s market and carting picnic fixing to the park, but I never quite found the right one. So this year, I wasn’t going to let another summer pass without one and got to work turning my leftover Easter basket into bike caddy. I mean, why not?! I love how it turned out–bring it on picnic season!


Materials:
- Oval or rectangle shaped basket. I used the Easter basket I had on hand from this year, but thrift stores usually have tons this time of year.
- Painter’s tape
- Outdoor craft paint
- Paint brush
For the Buckle Straps:
- A scrap of faux leather or leather at least 8.5″ long.
- Two – 1/2″ buckles
- Rotary cutter
- Ruler
- Pen
- 1/8″ hole punch
- Waxed thread
- Sewing needle

1. Remove the basket handle (if applicable) by cutting the rattan straps that hold it in place.
2. Apply painter’s tape to create a design. I taped 4 horizontal rows, so that I’d end up with 3 painted stripes.
 3. Paint in between tape lines with outdoor craft paint. Allow to dry and remove tape.
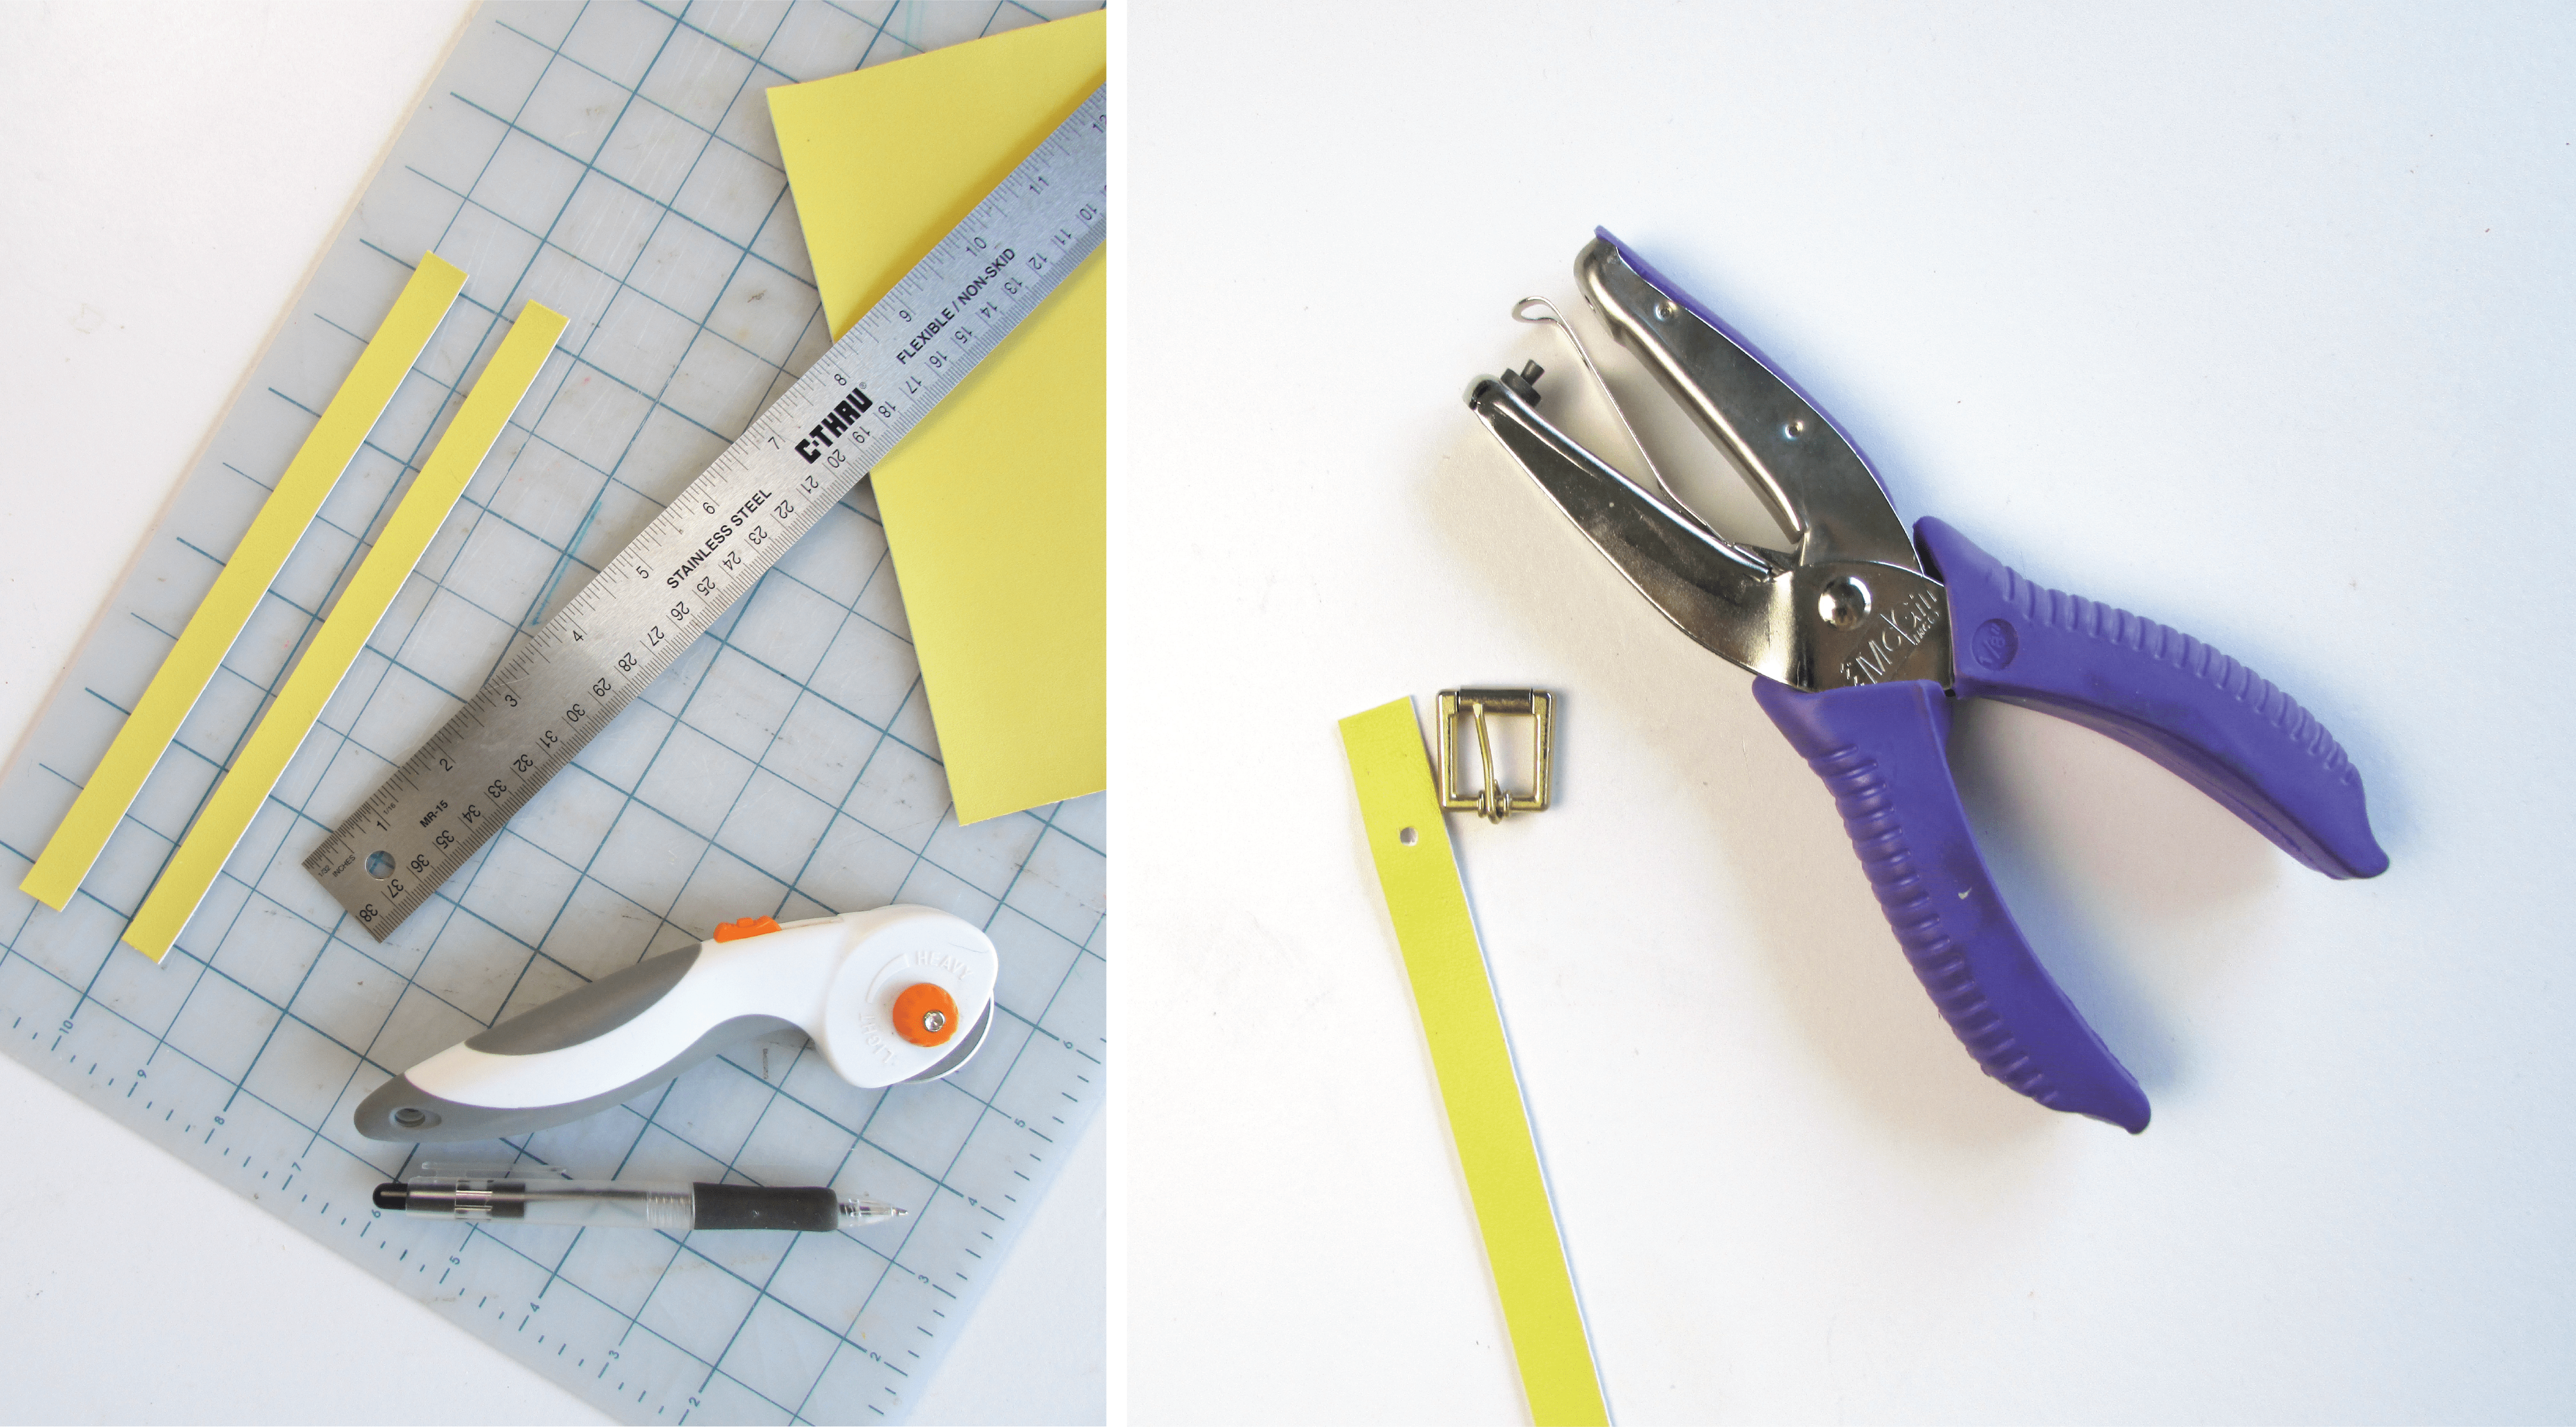
Creating the Buckle Strap:
Real talk here guys: I made buckle straps for my basket, but truth be told, if I made another bike basket, I’d probably create the straps with snaps. The buckles are summery and pretty dapper looking, but they’re kind of fussy. So you’ll be smarter than me and use snaps, won’t you? For what it’s worth, here’s how I made the buckle straps:
1. Use a rotary cutter and ruler to cut two 1/2″w x 8.5″l faux leather strips.
2. Measure 3/4″ from one end and use your 1/8″ hole punch to create a hole. Repeat with the 2nd strip.

3. Slide the buckle onto the faux leather strip, placing the small metal rod through the hole. Repeat with the 2nd strip.
4. Double knot the end of your threaded sewing needle and create a few small overlapping, horizontal stitches on the side of the faux leather strip, just under the buckle. Tie off with a double knot and trim thread. Repeat on the other side of the strip. Do the same with the other strip.

5. On the opposite end of the strip, make four marks at 1″ intervals down the middle of the strip. Hole punch the 4 marks. Repeat with the 2nd strip.

6. Cut two 1-1/2″l x 1/8″w strips from the same faux leather piece. Pull up the flap on the backside of the large strip, and wrap the small strip around the large strip just under the stitches you made in step 4. Make sure the ends of the small strip overlap slightly.

7. Lay the flap down over the small strip, and use a needle and waxed thread to secure the small strip to the overlaying flap.

8. Tie off the ends with a double knot and trim thread.


9. Thread the straps through the basket, making sure the buckles are facing outward. Attach to the front handle bars of your bike, and you’re ready for the farmer’s market!


Sandi
April 8, 2015 at 7:36 amLove this!!
francoisetmoiblog@gmail.com
April 8, 2015 at 2:06 pmThanks Mom!!! 🙂
Morgan Molitor
April 8, 2015 at 2:00 pmOh my gosh, I LOVE this!!! So adorable!
francoisetmoiblog@gmail.com
April 8, 2015 at 2:06 pmThanks Morgan!!!
Jenni Haikonen
April 8, 2015 at 7:43 pmThis is so very wonderful! I love a good bike basket and this is an amazing tutorial. Thanks!
francoisetmoiblog@gmail.com
April 24, 2015 at 6:41 pmThank you Jenni!!!