

When we purchased our 1930’s home, the light fixture above the table in the dining room, was a bit off center. It was about 10″ off to be exact and just enough to really get under your skin every time you walked by. We had been planning to replace the light fixture and center it above the table soon after moving in, but having just wrapped up a kitchen renovation chalk full of plaster patching and sanding, the thought of moving the light fixture and patching/sanding another hole so soon after–well it was enough to make us be okay living with the old, boring off center light fixture a little longer. The old light fixture is pictured below. It’s difficult to see–wish I had taken better before shots–but the fixture was off center to the right, and needed to be moved back to pair properly with the dining table. 
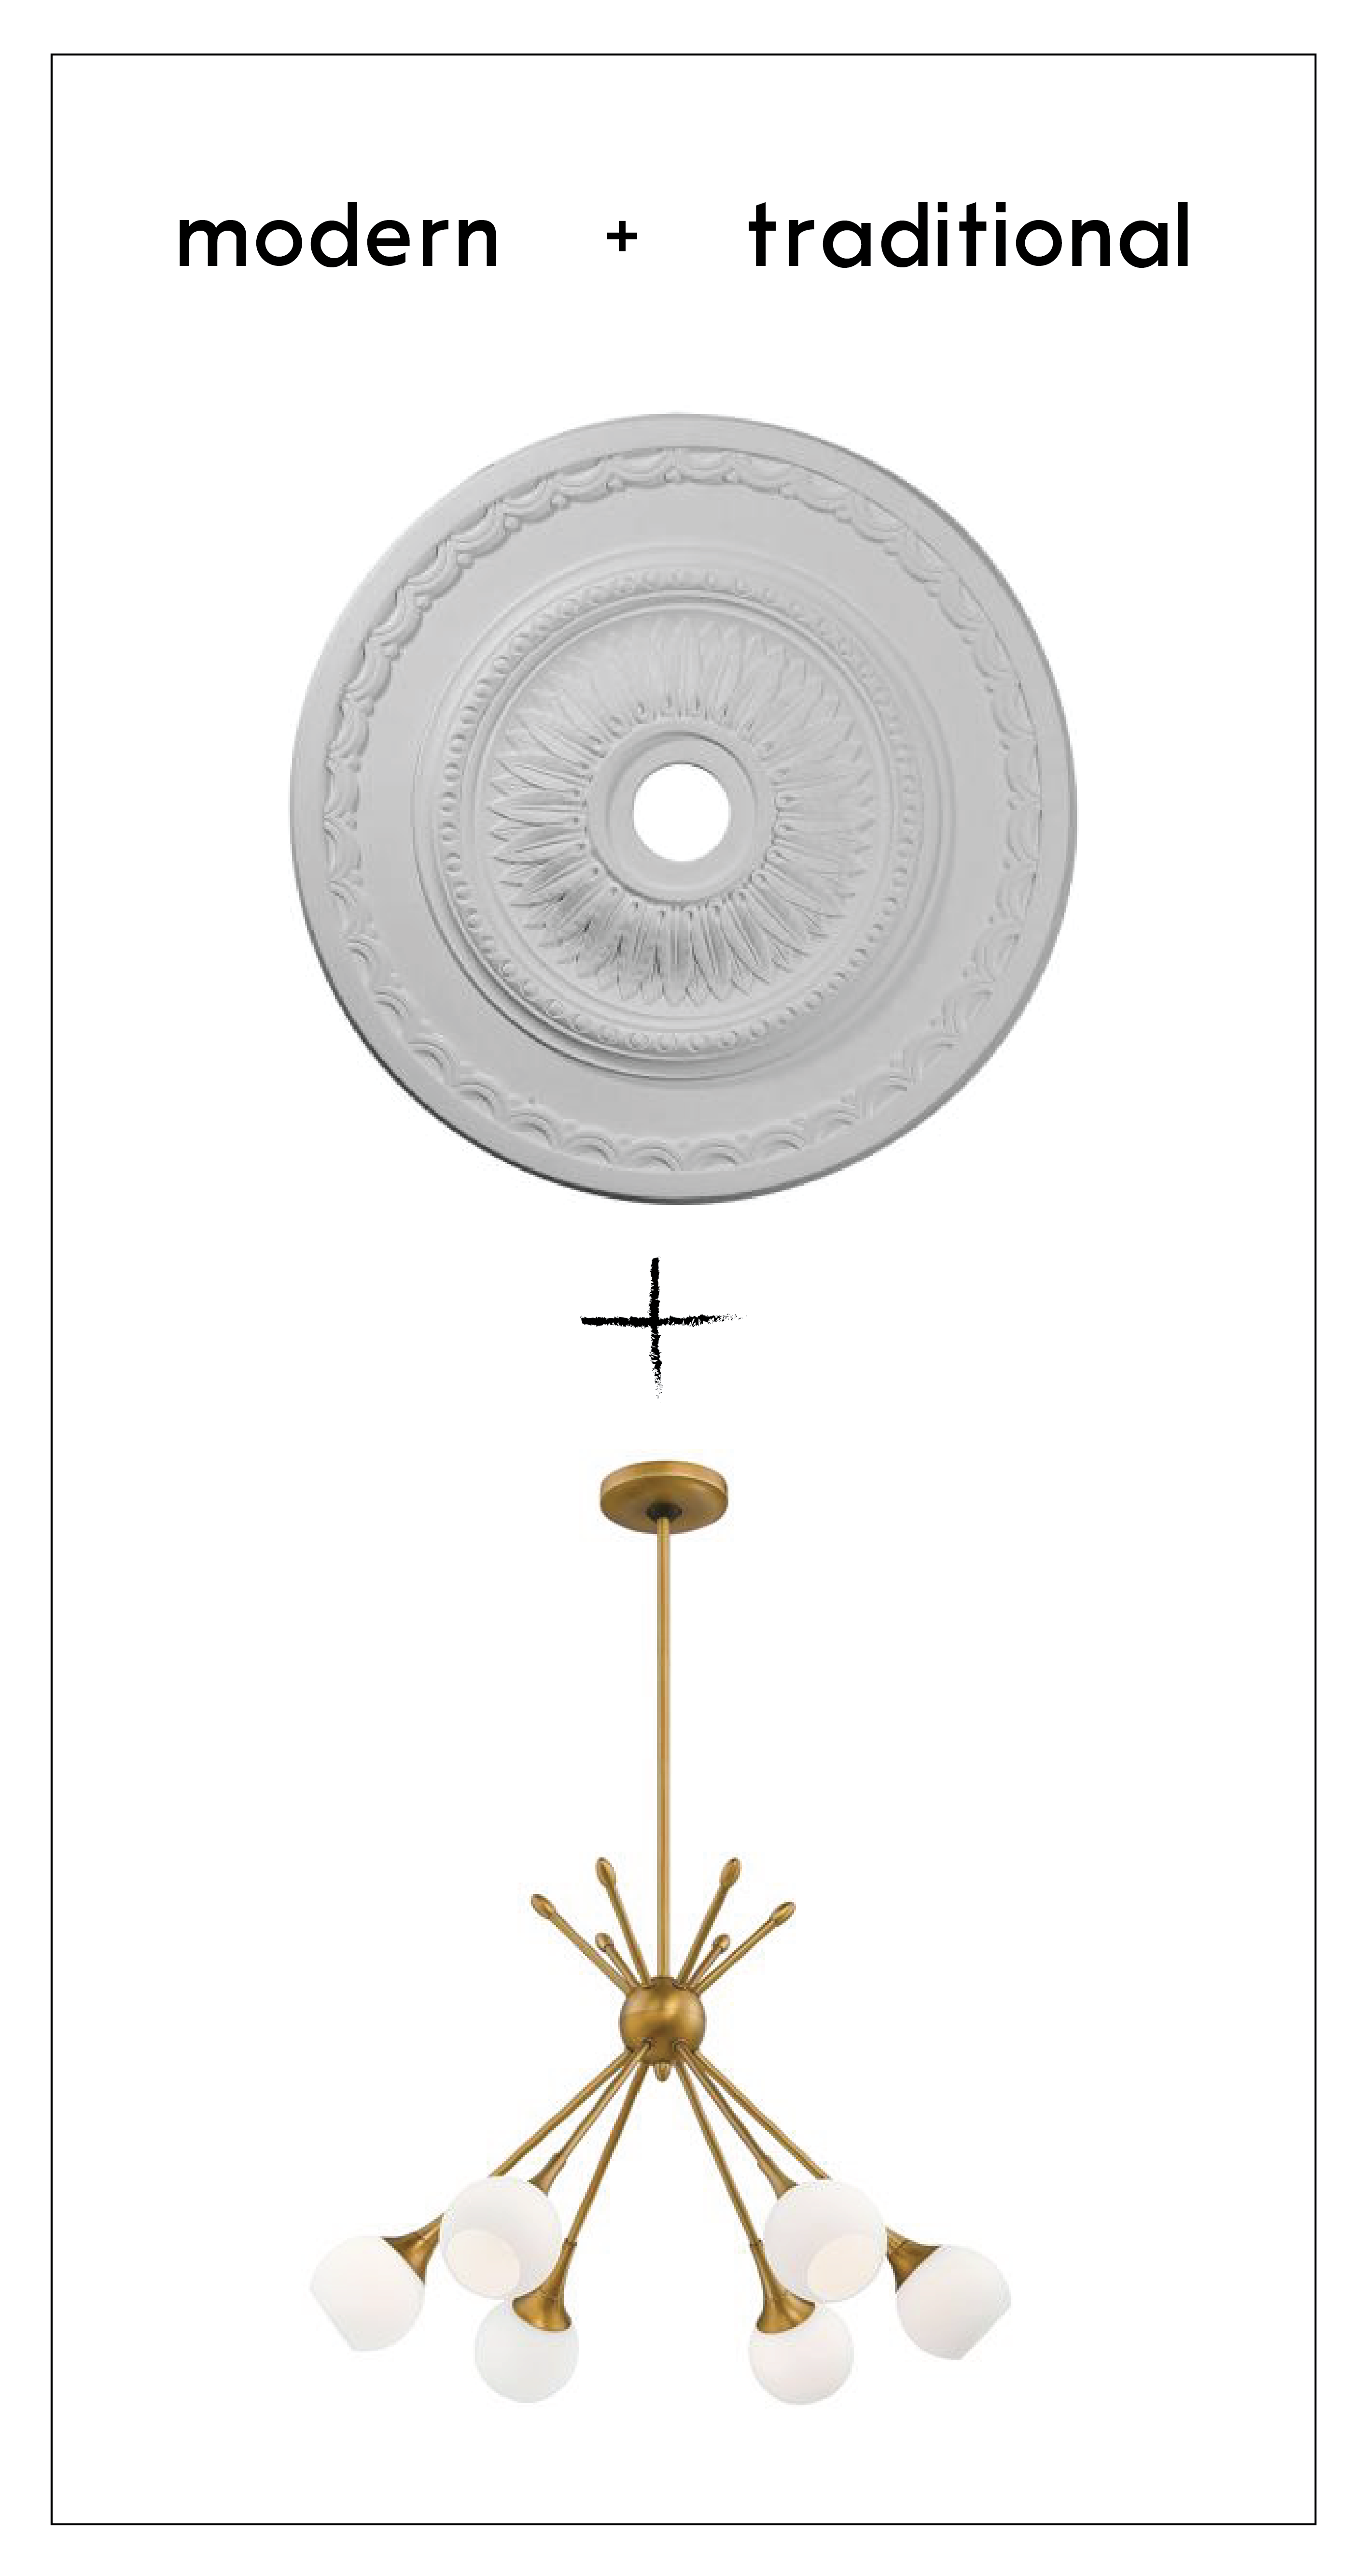
We were okay procrastinating the fixture switch, that is until we discovered the magic of the ceiling medallion: a beautiful, low-cost solution for moving a light fixture without the dreaded plaster patching! And I have to say, I LOVE the way the traditional ceiling medallion pairs with a more modern fixture. Perfection, if you ask me! Keep reading for the details on how we installed the medallion.
Materials:
- Chandelier
- Ceiling Medallion
- Caulking
- Nail Gun or nails + hammer
1. First, have an electrician move the junction box so that it’s centered over your table. Don’t worry about the leftover gaping hole in the ceiling, if the new location is within 20-25″ of the old one, the ceiling medallion will cover up the old hold which means no patching! Wooohoooooo!
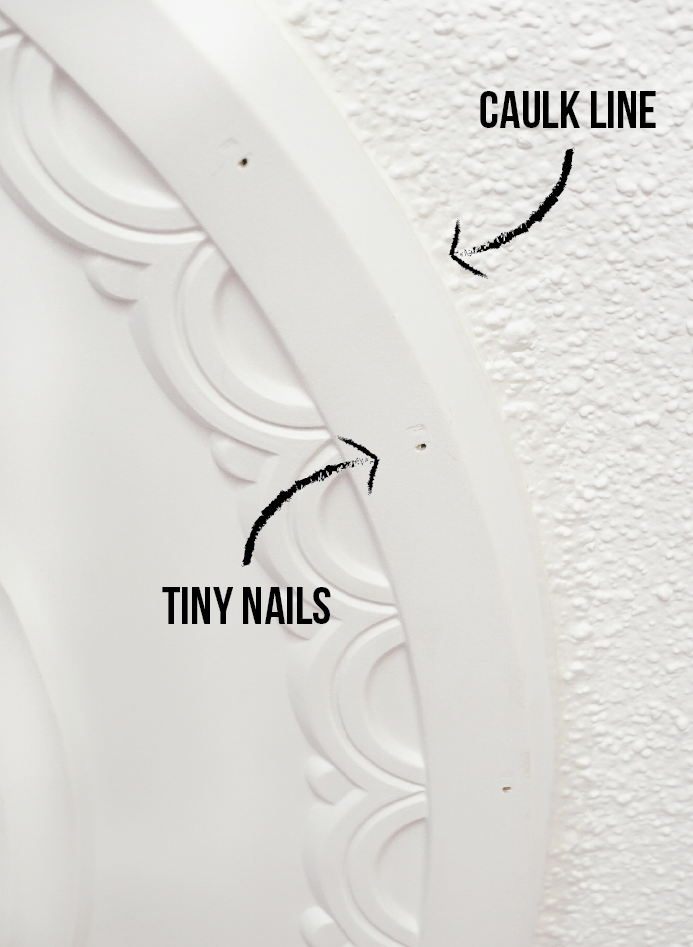
2. Generously apply caulking allover the backside of the medallion and stick it into place on the ceiling, making sure the center medallion hole lines up with junction box. Then use a nail gun to apply nails every 3-4″ along the medallion rim, securing it into place.For this step, even though the medallion is very lightweight, it’s helpful to have another person hold it in place on the ceiling while the other person nails the medallion into place.
3. Next apply a bead of caulking around the perimeter of the medallion where it meets the ceiling, and use your finger to smooth out.
4. We chose not to paint the medallion as it already matched the ceiling color, so last but not least, we simply attached the fixture to the junction box as you would in a standard installation without a medallion.
Et voila! The end result is an architectural detail that looks as if it’s always been there, a centered dining room light fixture, and happy homeowners who were able to avoid the dreaded patch and sand!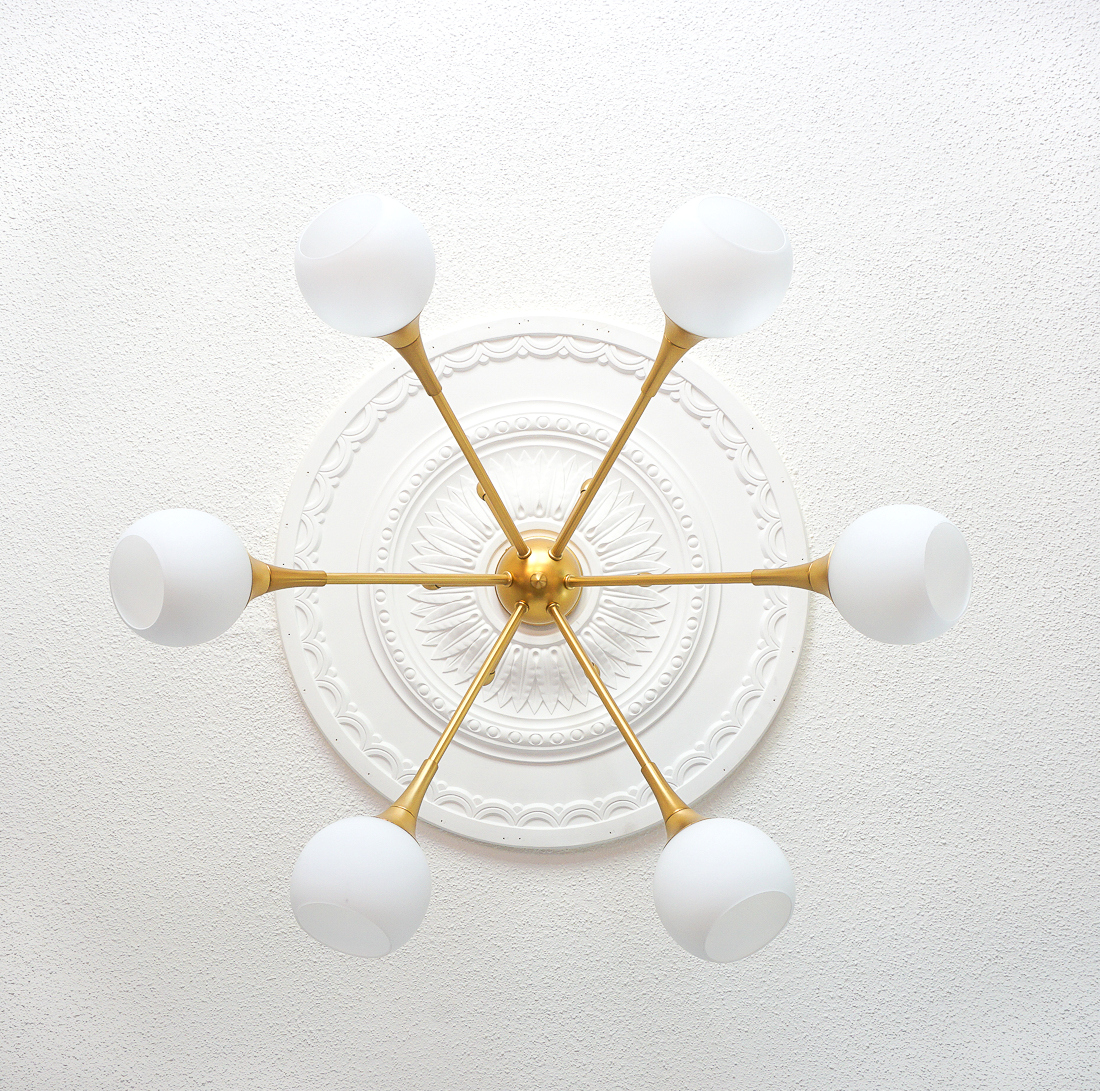


P.S. I have this rug coming for our dining room on Tuesday, and it can’t get here soon enough!


Save


