
Learn how to make candles for every season with these wildly popular candle project tutorials by Francois et Moi.

Candles are something I like to keep around the house no matter the season for their scent, ambiance and air-purifying properties. My love for them runs so deep that I’ve even learned how to make them! And over the years, I’ve made ALOT of candles. I find the process satisfying and fun, so here are my 5 most popular candle DIY projects. Coincidentally, there’s a project for every season!
1. Essential Oil Holiday Candle with Printable Label
There’s something about the clean, yet still festive scent of winter balsam trees that I’ve been craving as the weather turns cold. I kept meaning to pick up a winter balsam essential oil candle (which of course I spaced), so finally I decided just to make one. A no-brainer of course!

The candle’s scent is mostly pine needle with orange added for sweetness and Wyndmere’s Forest Retreat Blend added to give depth and complexity. When picking out your essential oils, make sure to use pure essential oils and not essential oils in a carrier oil. They’re a bit more expensive, but the scent is much more potent and just all around a better quality. I’m using Wyndmere here, but Whole Foods also has a great organic blend too. I love the scent I ended up with, and have been burning it like crazy lately!
I decided to go with soy wax with this one because A. the wax is white which I wanted for this candle, and B. it’s way easier to clean up in your kitchen than beeswax. Seriously. Way. Easier. If natural beeswax is your jam, check out the beeswax tea lights tutorial further down in this post.
I made this one for us, but of course these candles would make great gifts too!

Materials:
- Glass Tumbler. Mine is from a thrift shop.
- 3 Cups of soy wax flakes or double the volume of your candle vessel
- Lead free wicks
- Wood dowel
- Pine Needle, Orange and Forest Retreat Essential Oils
- Old sauce pan
- Larger pan for double boiler
1. Bring 2 inches of water in a saucepan to a simmer. Place soy wax flakes in a slightly smaller saucepan or glass bowl and place over the simmering water in the larger saucepan, creating a double boiler. Stir the flakes every few minutes until completely melted. Once melted, remove the wax from the heat, dip the wick’s metal clip in the wax and press to the bottom center of the glass candle vessel with a wood dowel. Once the wick is affixed, wrap the top portion of the wick around the wood dowel and rest the wood dowel on the opening of the vessel.
2. By this time, the wax should have had a few minutes to cool down, and is ready to accept the essential oils. If essential oils are added too soon, they’ll burn.
Add about 100 essential oil drops in total (to make them super potent and delicious!) and give the wax a stir. My breakdown between the 3 oils was as follows:
- 65 Pine Needle Drops
- 20-25 Orange Drops
- 10-15 Forest Retreat Drops depending on your preference
Pour the scented wax into the vessel and allow to set for 24 hours in a relatively warm spot away from commotion to avoid cracking in the wax. Once the wax is set, trim to 1/4″ with scissors, and add the printable label.


FOR THE LABEL:
Materials:
- Cover weight paper in white or off-white
- Printable PDF Candle Label
- Scissors
- Artist-tac Permanent Dry Adhesive
- Artist Knife
- Metal Ruler
- Self-healing Cutting Mat
1. Print out the PDF on coverweight paper and cut out the label with a 1/2″ border. Turn the label into a sticker by peeling back the Artist-tac cover sheet and placing the label face up on the sticky layer.
2. Lay the cover sheet over top of the label and use plastic credit card (such as a credit card) to burnish the label, pressing it down onto the sticky layer. Cut out the label with an artist knife and metal ruler and discard the top sheet.
3. Peel off the backing of the label exposing the sticky layer that’s now affixed to the back of the label. It’s helpful to carefully mold the label (without creasing it) so that it mimics the curve of your glass vessel so that it firmly stays attached once adhered. Attach horizontally to the candle and press firmly.

2. Rolled Beeswax Taper Candles
I feel like beeswax has become somewhat of a buzzword recently because of it’s healing, clean burning, and even air purifying properties. Well I, too, am on the beeswax train, and can vouch for the hype! My father-in-law is a beekeeper and has us suit up to harvest the honey from the hives every year. Watch the honey harvest video HERE. Let’s just say I’ve been up close and personal with my bee friends and somehow they’ve nestled into a soft spot in my little heart over the years.

A few years ago, I took home all the harvest beeswax and made tea light candles (see tutorial below!) in my kitchen the traditional way. The end result was awesome, but my kitchen was covered in inadvertent melted wax drips, and beeswax is the HARDEST to clean up. I’d find drips of beeswax in the oddest places months later.
This year, I decided to make beeswax candles again, but this time it would be the easy way. No melted wax and no scrubbing (and scrubbing and scrubbing) up the mess. These guys take like 2 minutes a piece, and come out to be about $1.65 a piece.
Materials:
- 8″ x 16″ wax sheets and medium braided wick — I’m using a kit from Amazon. I found this kit to be one of the best deals, but you can certainly buy the materials separately. It’s just wax sheets and wick!
- Scissors
- Ruler
- Cut the wax sheet in half forming two 8″x 8″ sheets.
- Cut an 8.5″ long piece of wick, and place it along the very edge of the wax sheet, with the extra 1/2″ of wick sticking off of one end.
- Use your fingers or palms (whatever you find works best) to tightly roll the wax around the wick. The tighter it’s rolled, the longer the candle will burn.
- Continue rolling up the wax sheet until it’s completely rolled onto itself. The tackiness of the wax will keep it rolled up.
- Place in your candle holder and light it up, my friends!
Watch the video for the moving picture run down!
If you liked this video, please subscribe to my Youtube Channel!
3. Rosemary Grapefruit Soy Candles
We all have people in our lives that are HARD to buy for. Whether it’s because you only know them professionally, & not personally like teachers and secret santa co-workers, or perhaps your giftee tells you that just being together on Christmas is enough, but you know you can’t actually show up empty handed. When I’m stumped on what to get for someone, I often turn to candles. They’re beautiful, useful, you can make them right in your kitchen.

These rosemary + grapefruit scented candles are made in little gold pots I found at Target. And by pots, I mean gold stemless wine glasses–yep! why not?! I’m sharing the full tutorial along with my best practice tips for getting starting with candlemaking at home over at Sugar & Cloth. Head on over for all the deets!
4. DIY Beeswax Tea Lights
Well what do you know? I pulled out the bag of raw beeswax we collected from our honey harvest, cleaned it, melted it down and made some beeswax tea lights out of it. We brought home a pretty blue lantern from Italy earlier this year, and I thought tea lights would be the perfect way to light it up.
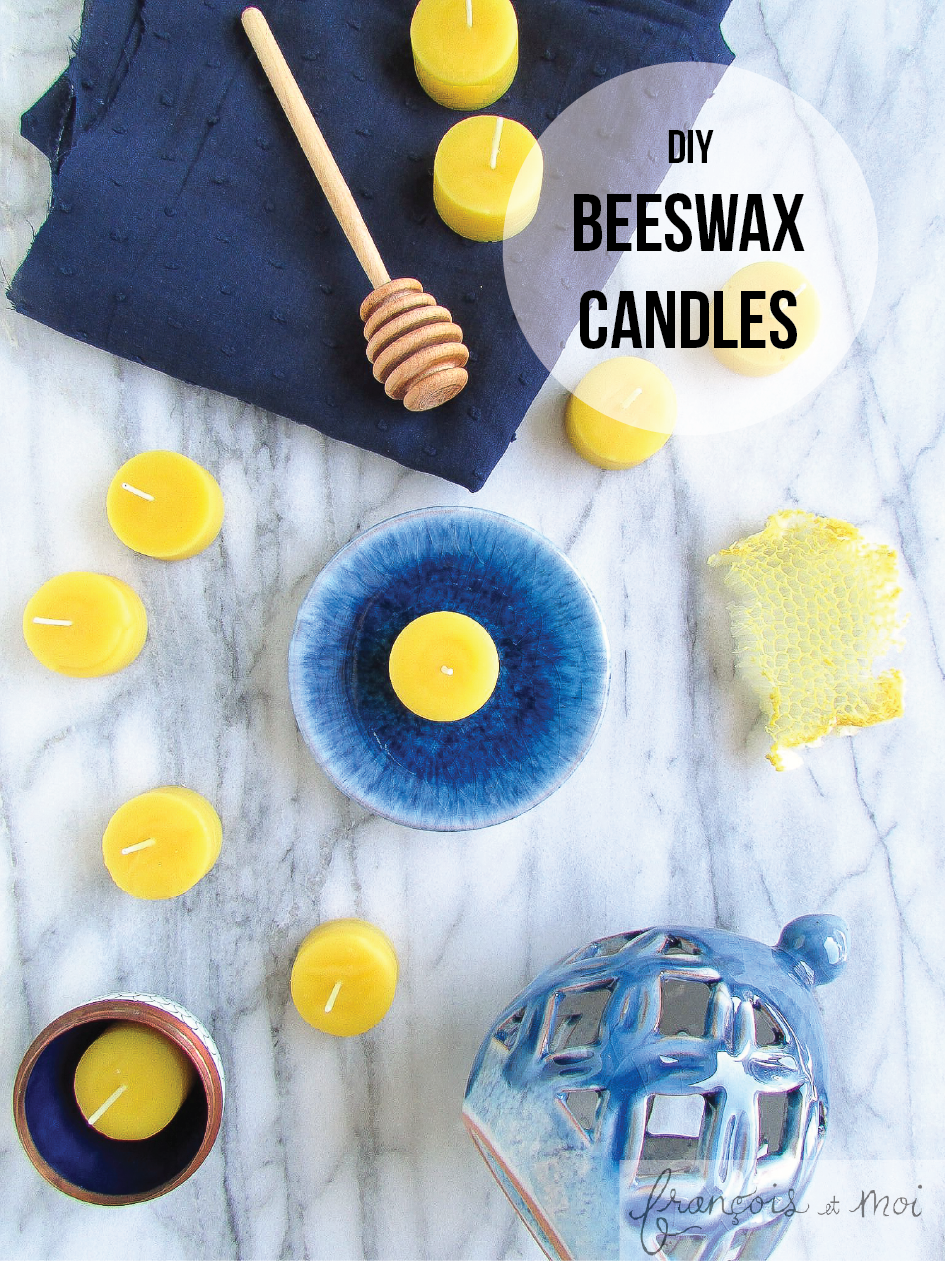

Did you know that beeswax candles, in addition to being non-toxic and clean burning, they also purify your air (!!) by producing negative ions that clean the air of odors and allergens. How cool is that? Beeswax also has an inherently clean and pleasant aroma, so I decided not to add any additional scents to it. I felt it wasn’t necessary, but it sounds like you can add essential oils to the wax once it’s cleaned and melted if you’d like.


Materials:
- raw beeswax from a hive or pre-cleaned beeswax
- heatsafe pouring container (Thank you Scott & Caitlyn for loaning yours to me!) Or you can use any old metal pot that you’re okay designating as a candle-making pot. It’s extremely difficult to remove all the wax after using it for candle-making.
- a larger metal pot to use as a double boiler. This one shouldn’t come in contact with wax, so it’s okay to use an everyday pot.
- candy thermometer
- rubber tea light mold (Mann Lake sku# PM-778)
- ready-made 1.5″ wicking (Mann Lake sku# MD-501)
- parchment paper
- apron (this is optional, but splatters happen!)
- If you need to clean your raw beeswax, you’ll also need a few more materials. Read on for more details.
1. Cover your worksurface surface with parchment paper to catch any fugitive wax drops (It’s really difficult to clean up the dried beeswax, so the more of your kitchen you can protect, the better.)
2. If you’re starting with raw uncleaned beeswax, you’ll need to remove the honey and other non-wax material mixed in with it from the hive. Just Two Farm Kids has a great tutorial on how to make that happen. They also show a different wicking method for their candles. Check out their blog for the play-by-play. If you purchased cleaned beeswax, skip this step.
3. Place one pre-made wick in the center of each of the tea light molds, so it’s set to go.
4. Create a double boiler. Heat 2″ of water in the larger pot over medium heat. Place the cleaned beeswax in the candle-making pouring container and place the pot into the larger pot. Heat the wax to 150-160° F using the candy thermometer. Stir occasionally and do not leave unattended.
5. Once you’ve reached 150° F, remove candy thermometer, remove pouring pot from the double boiler, and pour wax into prepared molds. To prevent air bubbles, pour slowly.
6. Allow wax to cool. Once completely cool (about 10 minutes), pull slowly, but firmly on the candle wick, rocking back and forth to remove from the mold. Trim wicks to 1/2,” light and enjoy!

Sources: Just Two Farm Kids | The Sweetest Occasion | Sante Fe Candles
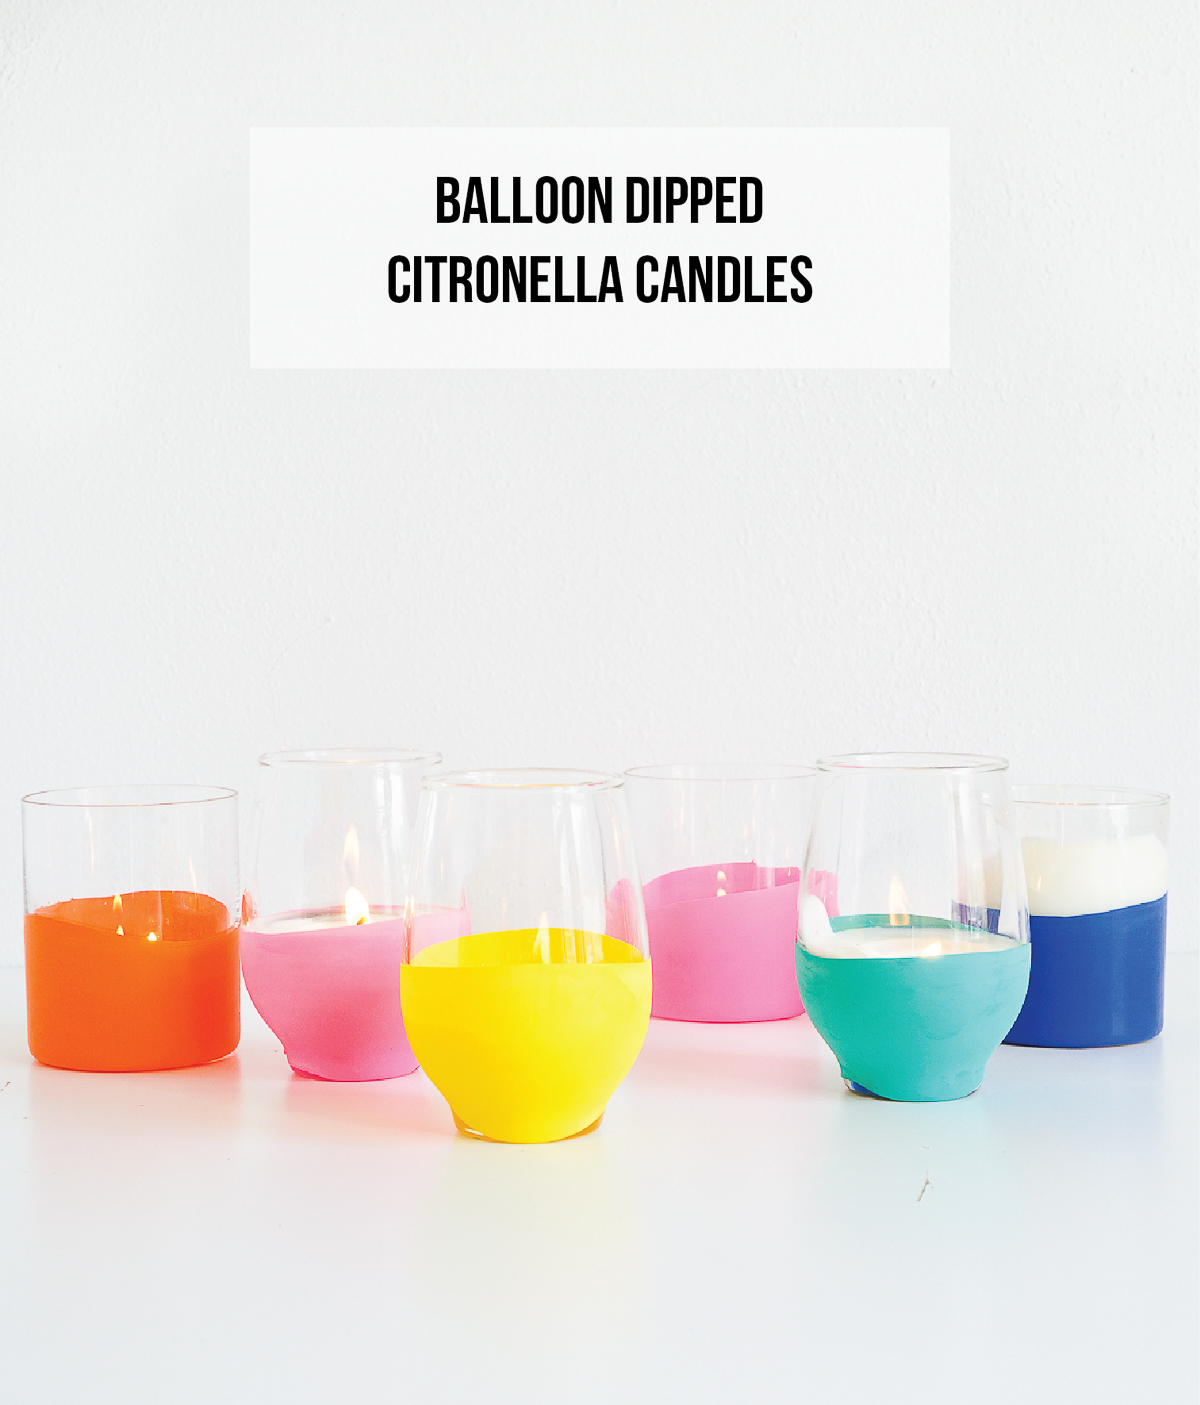
5. DIY Citronella Candles
Not one to want to load up with bug dope for summer dinners on the patio, I’ve made up some DIY citronella candles for our outdoor dining area. They’re made with soy wax so the clean-up is easy, and citronella essential oil means no perfumey chemicals, only naturally extracted goodness! Oh and the pop of color around the glass vessels? Those are just your average vinyl balloons added for color. Want to make a set of DIY citronella candles for your outdoor space? Find my full tutorial over at Sugar & Cloth!


There you have it–DIY candles for every season! I hope you found a project or two to try, and don’t forget to tag me on Instagram with your completed projects!
Want more DIY candle goodness? Here are more projects to keep the wicks burning!
- Swedish Candle Wreath DIY
- Candlelit Evergreen Lucia Table Wreath from Lulu The Baker‘s Book
- DIY Nordic Winter Centerpiece


Roger Blackwell
December 10, 2015 at 8:03 amWhere do I buy the kit to make these?
francoisetmoiblog@gmail.com
December 11, 2015 at 9:44 amHi Roger, All the links are listed in the materials list!
LaToya
March 11, 2016 at 2:22 amWhich program did you use to create the candle label?
francoisetmoiblog@gmail.com
March 13, 2016 at 5:44 pmHi LaToya! I created the labels in Adobe Illustrator, and then saved them as a PDF, so they’d keep their size/shape when printed.
Pawan
September 29, 2016 at 4:15 amHi where can I get Adobe from and what size are the labels? Thanks. Pawan
Josefina
June 28, 2016 at 3:02 pmHi! I made soy wax candles and two things happened =(
1) The finish wasn’t as neat as yours (lumps and holes at the surface and inside)
2) When lit, the melted wax or pool was too deep, almost half of the jar….
How can I avoid this?
Thanks!
Josefina
15+ DIY Tutorials for Christmas Candles – Roundup with Photos! | Diane Uke Shares
September 15, 2016 at 4:32 pm[…] Stick Candles at Cut Out + Keep: DIY Mason Jar Holiday Luminaria at The Budget Decorator: DIY Essential Oil Holiday Candle at Francois et […]