
I’m not a huge fan of the “bodysafes” or fanny packs that Americans are always told to wear to avoid being pick-pocketed when going abroad, mostly because anytime you whip it out to pay for anything it blatantly reinforces with a proverbial blinking arrow sign that you are a tourist, and thus potentially putting you at a greater risk for being targeted. I wore a bodysafe on my first trip abroad several years ago, and I found it uncomfortable and inconvenient, so I’m always interested to hear of alternative ways people stay secure, sans bodysafe.
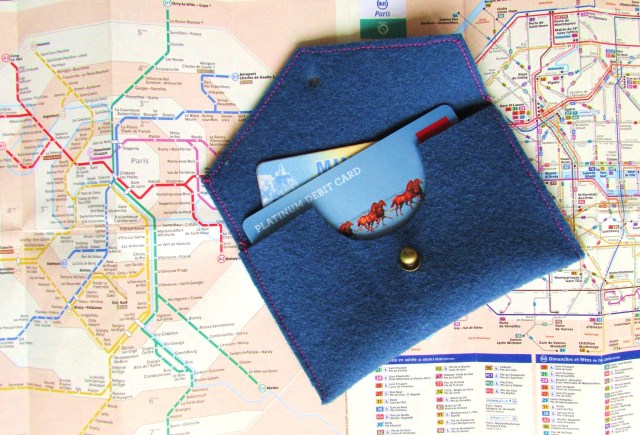
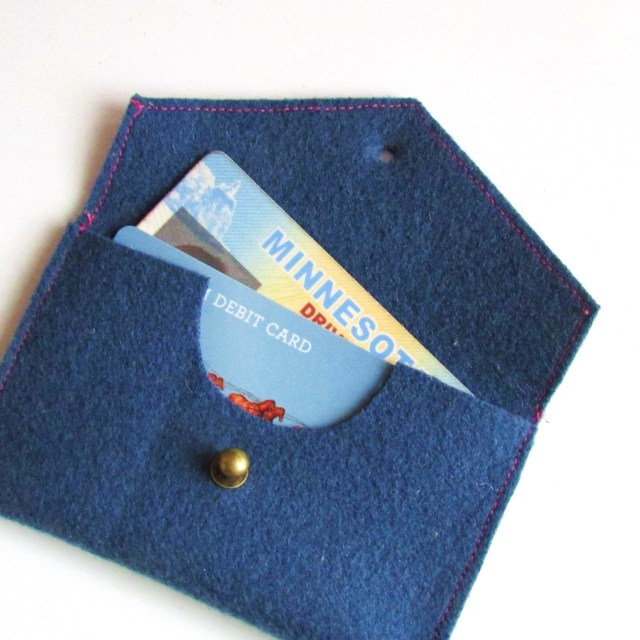
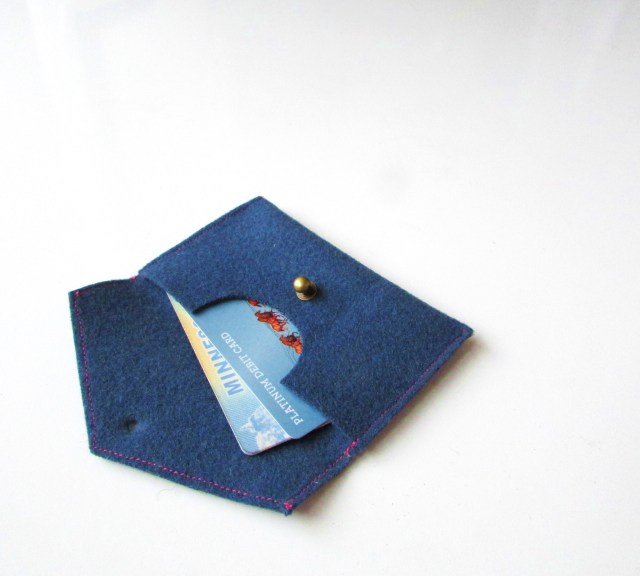
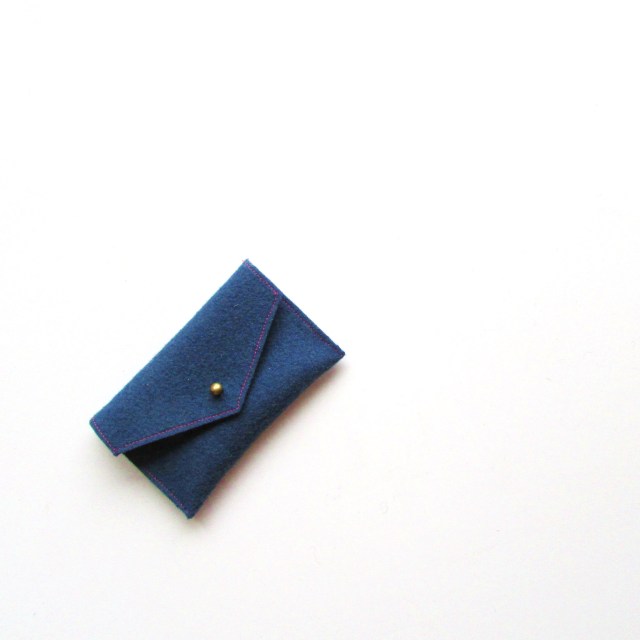
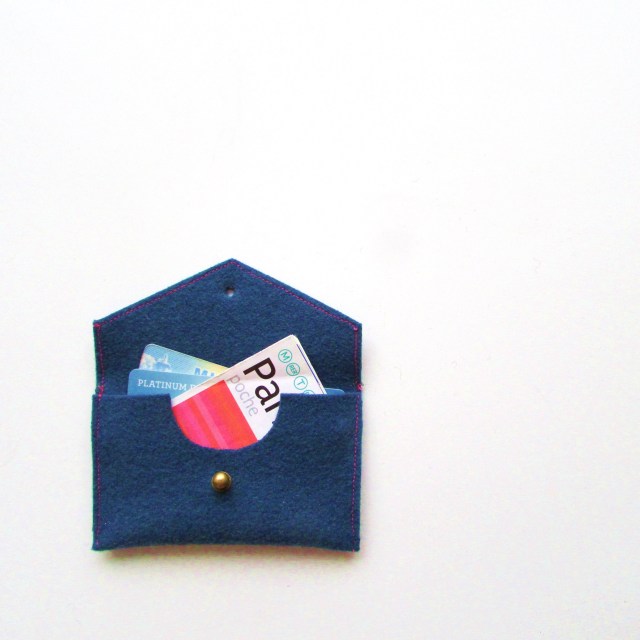
Taking a cue from Marcy’s 10 Packing Tips for European Travel, I made a lightweight, flexible 2.5″ x 4″ wallet, just big enough to hold my credit card, ID, & Euros (paper & coins), and one that I can keep nestled down in my front pocket (covered by my top and layered by my crossbody camera bag). It’s similar to my Mini Felted Clutch, only smaller and less complex. This baby came together easily in about an hour (The most difficult part was trying to remember how to thread my sewing machine and wind a new bobbin). I can’t wait to put it to work on our trip!
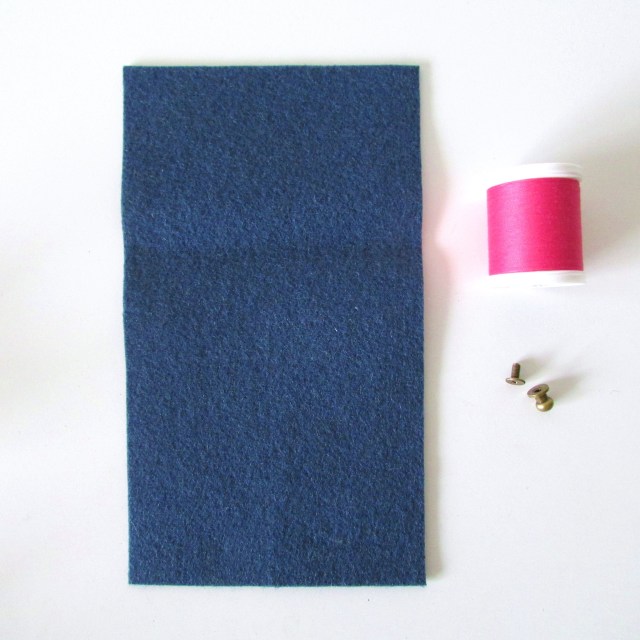
Materials List:
- 4″ x 7″ wool felt or faux leather (material that won’t fray).
- contrasting thread
- one 6mm antique brass button ball head screwback stud available through BagPurseFrames on Etsy
- pen with contrasting ink to fabric
- ruler or measuring tape
- 1/8″ hole punch
- scissors
- sewing pins
- sewing machine
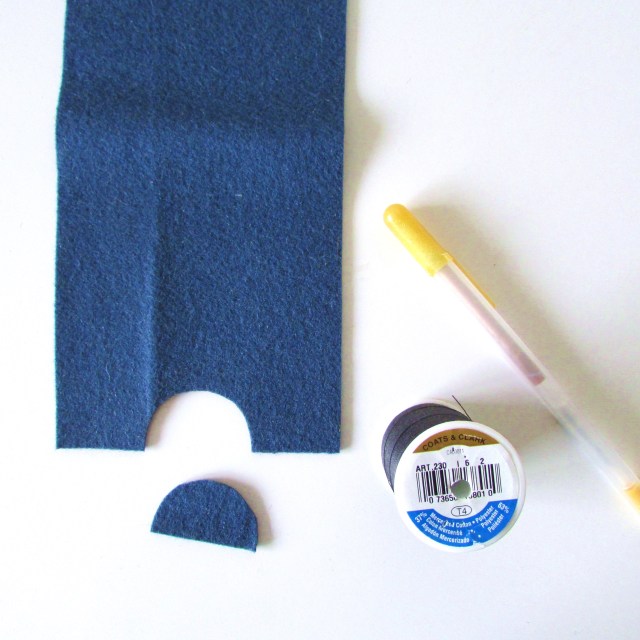

1. Begin by laying your 4″ x 7″ fabric piece in front of you, so that the short end is closest to you. Find the center of the short side by measuring 2″ from the edge and trace a 1-1/2″ half circle shape onto the edge of the fabric. I used a 1-1/2″ spool of thread as my guide. Carefully cut out the half circle with a scissors.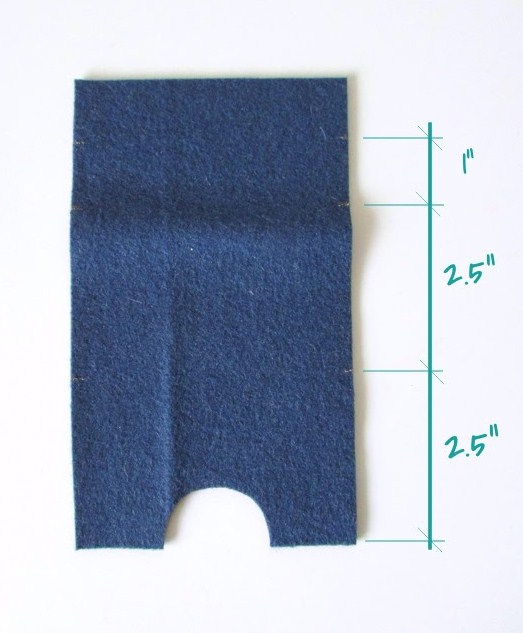
2. Using a ruler or measuring tape, measure & mark @ 2.5″ 5″ & 6″ along both long edges starting from the edge you just cut the half circle from. Mark both edges of the fabric as shown above.
3. On the opposite edge to the half circle edge, find the center of the short edge by measuring 2″ in from the edge. Using your ruler draw diagonal lines from this center mark to the marks you made in Step 2 that are roughly 1″ from this edge. Cut along these two lines to create a point.
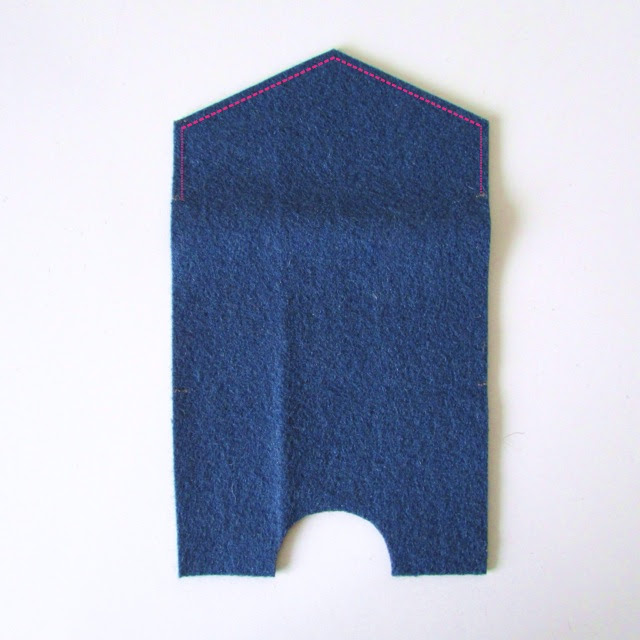
4. With your sewing machine, stitch along top flap as shown above with an 1/16″-1/8″ seam allowance. This is purely decorative.
5. Fold the edge with the half circle cutout upward creasing the fabric at the 2.5″ mark you made in Step 2, and secure with sewing pins. Sew along the sides of the wallet at 1/16″-1/8″ seam allowance where the fabric is doubled up, removing pins as you sew.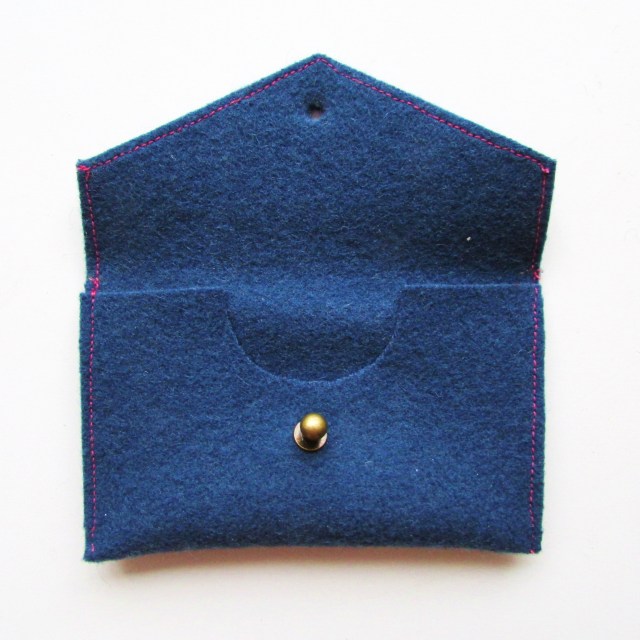
6. On the inside of the pointed flap, measure and mark 1/4″ down from the flap point. Use hole punch to create hole.
7. Lay flap down onto wallet (like you’re closing it), and make a mark through the hole you just created in step 6 onto the fabric layer below (about 1/4″ below the half circle cut out). Use hole punch to punch through the mark. Unscrew screw back, place screw through the back of the new hole, and screw the ball head on tightly. 


Julie
April 23, 2014 at 8:35 amVery cute Erin!!
francoisetmoi
April 23, 2014 at 9:53 pmThanks Julie!!!
Monica {Cake & Lilies}
April 23, 2014 at 9:12 amI love this! What a cute and practical idea. Also sounds like the perfect thing to throw into a large handbag for daily use 🙂
francoisetmoi
April 23, 2014 at 9:53 pmAbsolutely–thanks Monica!
kleine kleinigkeiten
April 23, 2014 at 1:18 pmlovely – great work!
xoxo
blanca
francoisetmoi
April 23, 2014 at 10:00 pmThanks Blanca! I love your tea cup button detail currently on your blog. Have you ever tried Gorilla Glue? It’s pretty darn strong and might work well to keep the button in place! http://www.gorillatough.com
kleine kleinigkeiten
April 24, 2014 at 4:59 amthank you so much!
♡
Rock Paper Scissors gift guide for everyone - Kittenhood
October 5, 2016 at 5:59 am[…] Tom: Travel water bottle ($19.99) + What to pack card ($2.25/piece) + Travel wallet […]