
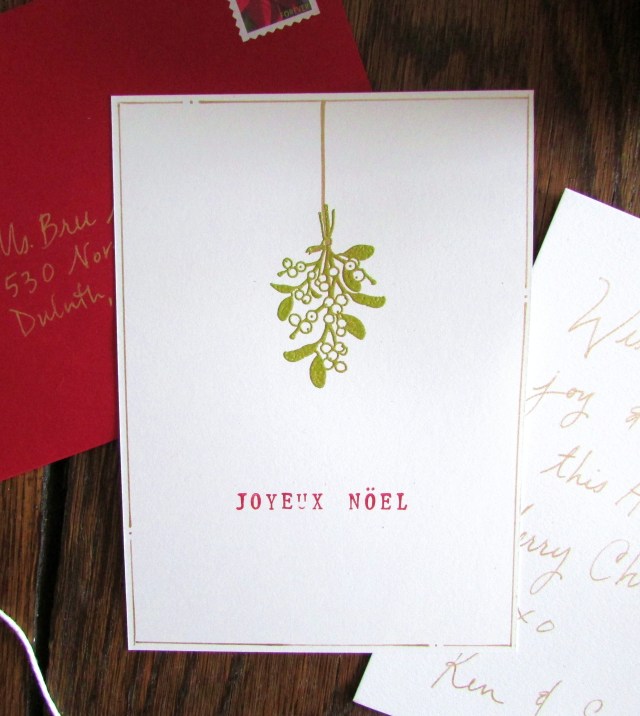
Okay, so here’s the skinny on this year’s Christmas card. These parcels of yuletide cheer came together with a little help from our friends at Paper Source who had everything we needed to pull them off with festive originality, including creative design inspiration and helpful demonstrations. I enjoyed the card making process as much as I do the final product, so here it is broken down step-by-step:
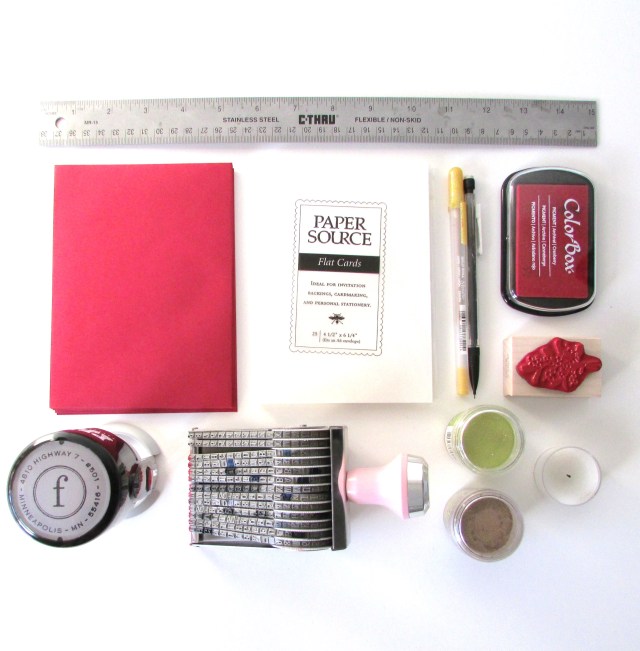
Materials List:
- 4.5″ x 6.25″ (A6) Superfine Soft White Flat Cards
- 4.75″ x 6.5″ (A6) Red Envelopes
- Mistletoe Rubber Stamp
- Red Stamp Pad (I used Color Box, Cranberry)
- Green Embossing Powder (I used Adirondack, Lettuce)
- Ruler
- Pencil
- Gelly Roll Gold Pen
- Tea Light or Embossing Heat Tool
- Rolling Alphabet Stamp
- Red Pen
- Custom Address Stamp (optional)
- Queen’s Gold Embossing Powder (optional)
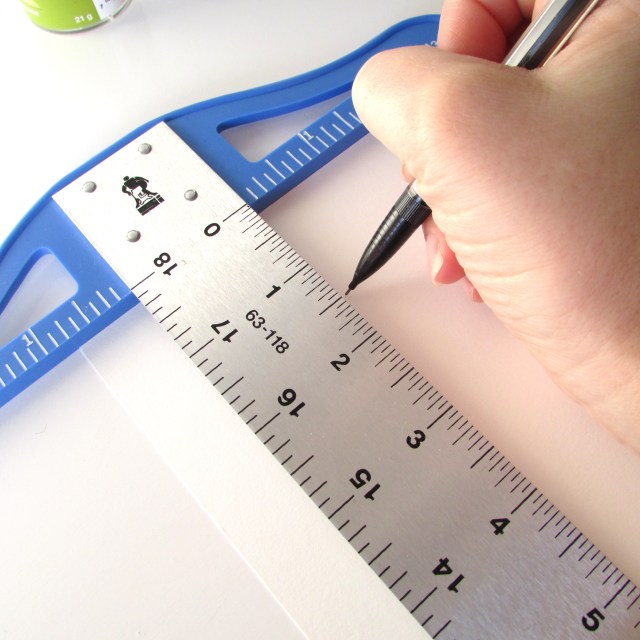
Step 1. Measure and mark lightly with a pencil, roughly 1.5″ from the top of the card, and 2.25″ in from the left. This will be your guideline for where to place the top of the mistletoe stamp.
Step 2. Measure and mark lightly with a pencil roughly 2″ from the bottom of the card, and 2.25″ in from the left. Also mark 1″ on either side of this pencil mark. This will be your guideline of where to stamp “Joyeux Noel.”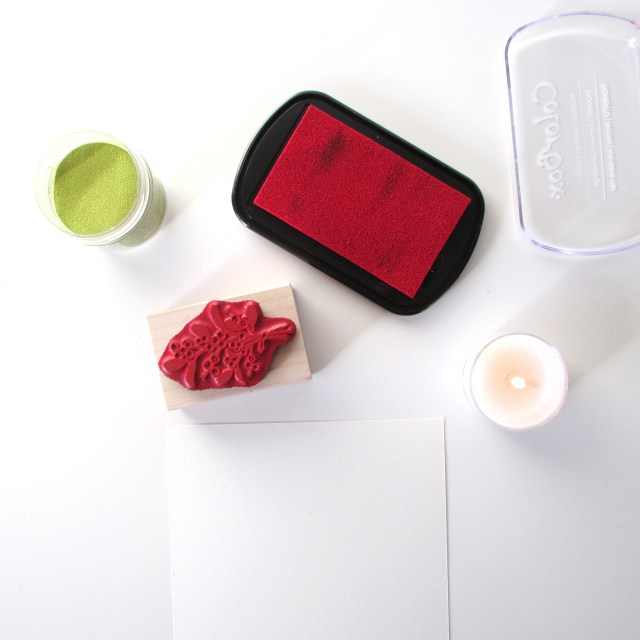

Step 3. Press the mistletoe stamp onto the red stamp pad, and stamp firmly onto the flat card, positioning the top of the mistletoe stems on the pencil mark you created in step 1.

Step 4. Sprinkle green embossing powder on the red ink, covering entirely.

Step 5. Pull the edges of the card up slightly and funnel the excess powder back into the embossing powder jar. The powder will adhere to the ink.

Step 6. For this next step, the pros will tell you to use a embossing heat tool, but I’ve always used a non-scented tea light as my heat source. Light the candle, and flip your card over, so the design is facing the floor. Hold card about 2″ from the flame, for just long enough to “set” or melt the embossing powder. When melted, the powder creates, a glossy, raised surface.


Step 7. Rotate the letters on your rolling alphabet stamp so that it reads “Joyeux Noel.”


Step 8. Press alphabet stamp into the red stamp pad and press firmly onto your card, using the pencil marks from step 2 as your guide.


Step 9. Using a red ink pen, mark two dots over the “O” in Noel.

Step 10. Using a ruler and gold gen pen, eyeball roughly 1/8″ from the edge of the card, and draw a border on all four sides.
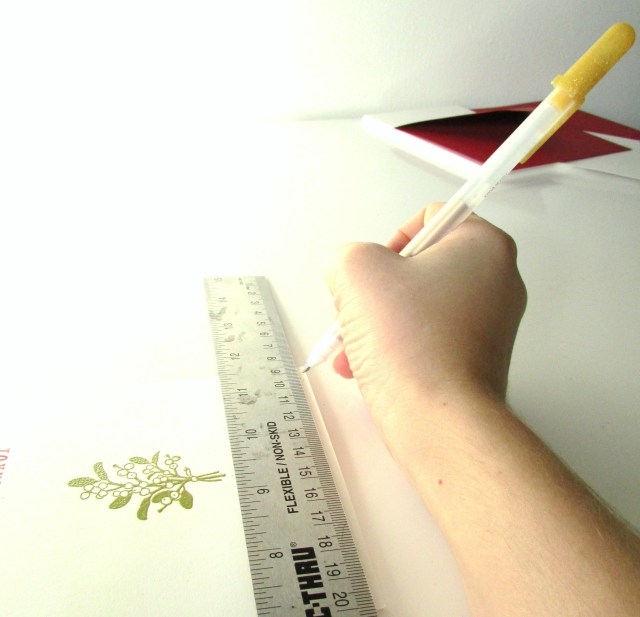

Step 11. Draw a vertical gold line (using a ruler) from the mistletoe stems to the gold border at the top of the card to serve as the mistletoe string. And make sure to add a little gold to the “ribbon” outlined by the stamp.

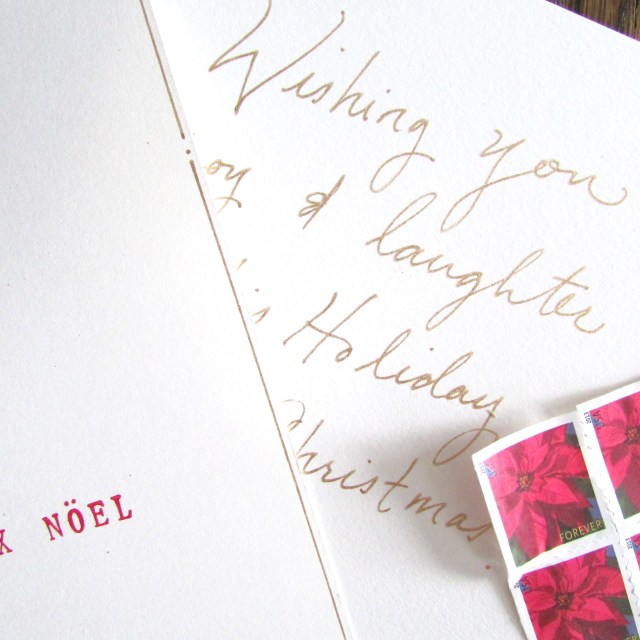
Step 12. On the back of the card is where you’ll add your sentiments!
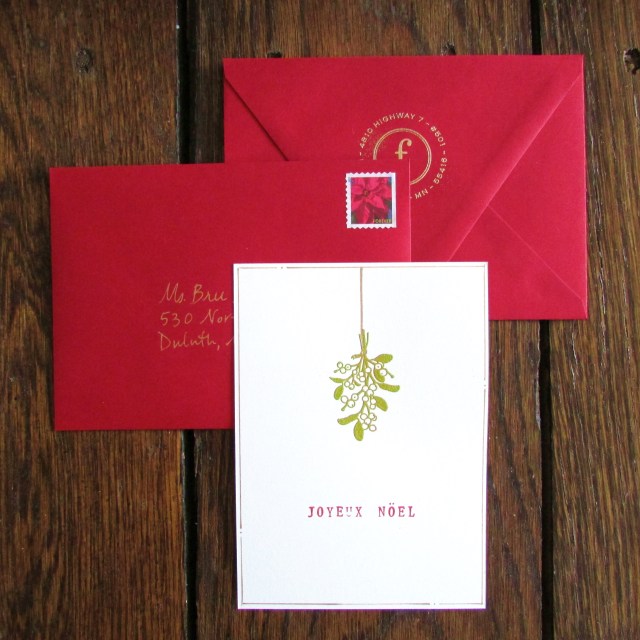
Step 13. To add the glossy, gold return address on the envelope flap, use the same embossing technique as described in steps 3-6:
- Stamp your return address onto the envelope flap and sprinkle with gold embossing powder, covering the entire stamped area. I have a self-inking custom stamp from Expressionery, and I love it! If you don’t have an address stamp, you can write out your address with a gel pen, just make sure to work quickly so that the embossing powder sticks to the pen ink before it dries.
- Lift up the sides of the envelope and pour excess powder back into the embossing powder jar.
- Hold 1-2″ from candle flame until powder is melted (just a few seconds).


And there you have it; this year’s card ready to spread some Holiday cheer!


dave ramsey envelope system
October 2, 2014 at 4:00 amI don’t even kknow how I endd up here, but I thought this post was good.
I do not know who you are but certainly you’re going to a famous blogger
if you are not already 😉 Cheers!