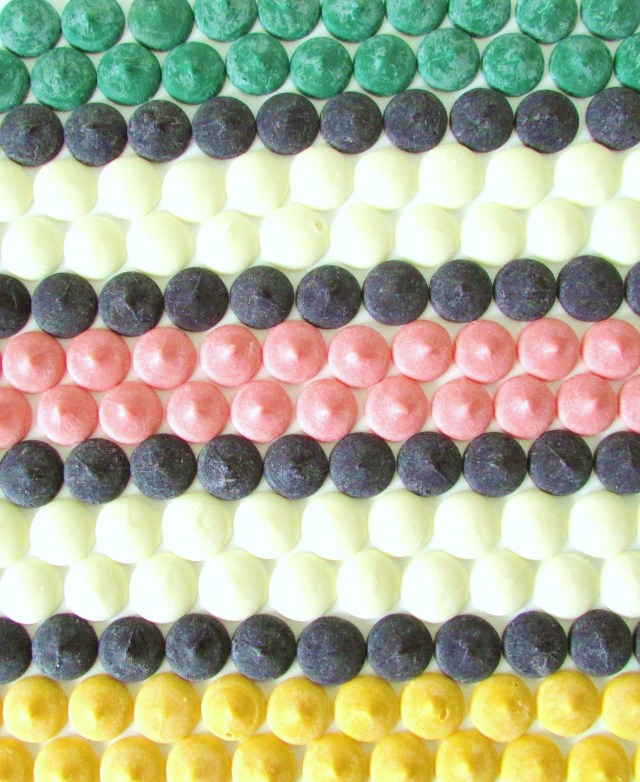
Have you ever heard of licorice allsorts? I hadn’t until I came across Caitlin Shearer’s Candyland post and was super intrigued by the graphic appeal of the layered sweets she featured. In their classic form, licorice allsorts are just as their name implies: all sorts of licorice flavors layered on top of one another to create a sweet licorice cube.
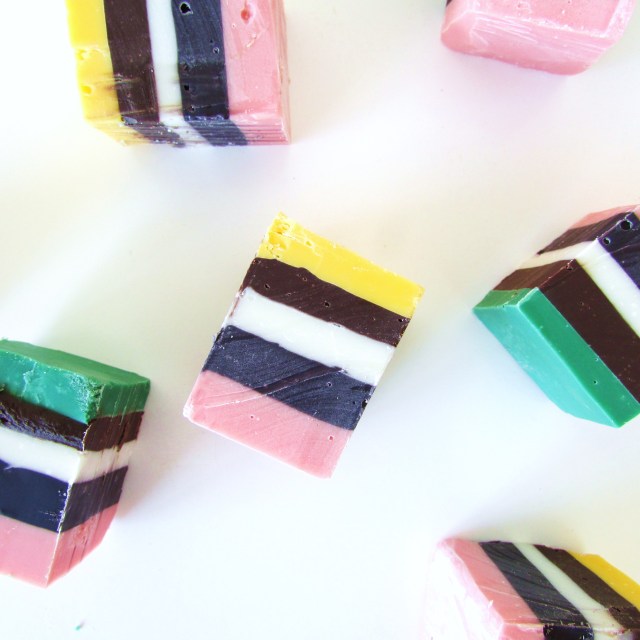
I was inspired by the candy’s graphic stripes and thought it would be fun to create a similar looking candy with chocolate, rather than licorice. How fun would these be as favors or sweets at a birthday party or shower? Their sheer size make them infallible conversation starters for both kids and adults. I went for shock value by making the chocolates oversized, but you could also make the layers thinner and cut them into smaller cubes too.
Ingredients:
- 12 oz bags of Wilton Candy Melts (Pink, Yellow, Green, White, Black)
- Softened Butter
Special Equipment:
- Parchment Paper
- Banana Bread Pans

Making these pretty, graphic chocolates are as easy as they come. The three main steps are measure + melt + pour (& repeat). I used banana bread pans because I wanted two small batches with different color combinations: one with pink + yellow and the other with pink + green. Each banana bread pan yields six, 1-1/4″- 1-1/2″ cubes. For a larger batch, you could probably use an 8×8 baking pan and play around with the proportions–potentially tripling the recipe.
1. Generously butter both banana bread pans.
2. Cut two 2-1/4″ x 12″ strips of parchment paper and place one in each bread pan, running lengthwise. The parchment paper is simply to help lift the chocolates out of the pans once the layers have been poured and hardened.
3. Measure 1/2 cup of whichever chocolate you’d like to be your first layer (I used pink) and place in a microwave safe bowl. Heat for 30 seconds. Give it a good stir. Then heat for another 10-15 seconds until completely melted. Pour into one of the pans, and rap the pan on the counter to spread and level out the chocolate. Let cool for 10-15 minutes until just hardened.
4. While the layer you just poured is cooling, rinse and dry the bowl you melted your first layer in. Measure out a 1/2 cup of the black chocolate chips. Once the layer you previously poured has firmed up, melt the black chips and pour overtop of the first layer.
5. Repeat Step 4 with the white chips, then another layer of black chips, and lastly a layer of color chocolate chips (yellow or green).
6. Let the last layer really firm up (about 45 minutes), then using a sharp, non-serrated knife cut into 1-1/4″ to 1-1/2″ cubes. Don’t wait longer than 2+ hours to cut into cubes, as once the chocolate completely hardens, it’s pretty difficult to cut. Pull up on the parchment paper “wings” to remove the chocolates from the pan. Once you remove the chocolates from the pan, you may need to use a knife to clean up the edges, so they’re pretty and party-ready!
7. Repeat Steps 3-6 with the second pan using different chocolate colors for the top and bottom layers (if you like).
And there you have it–a fun, sweet treat for Spring!