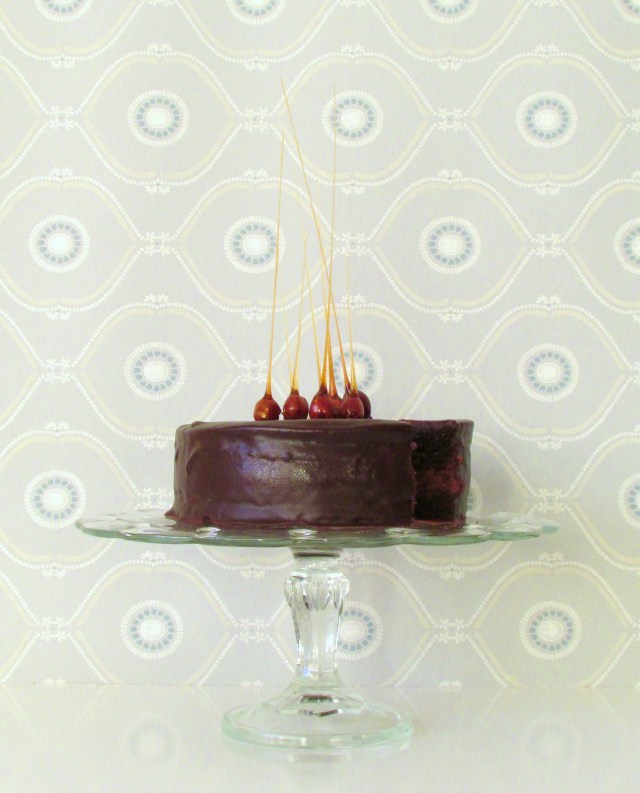
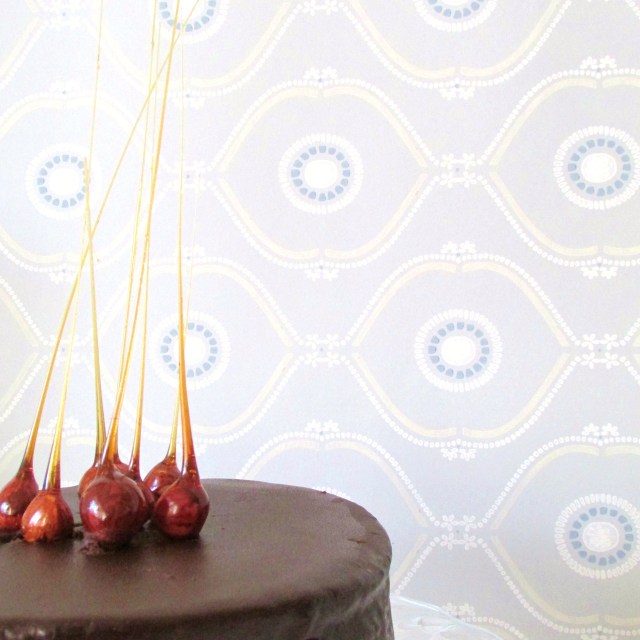
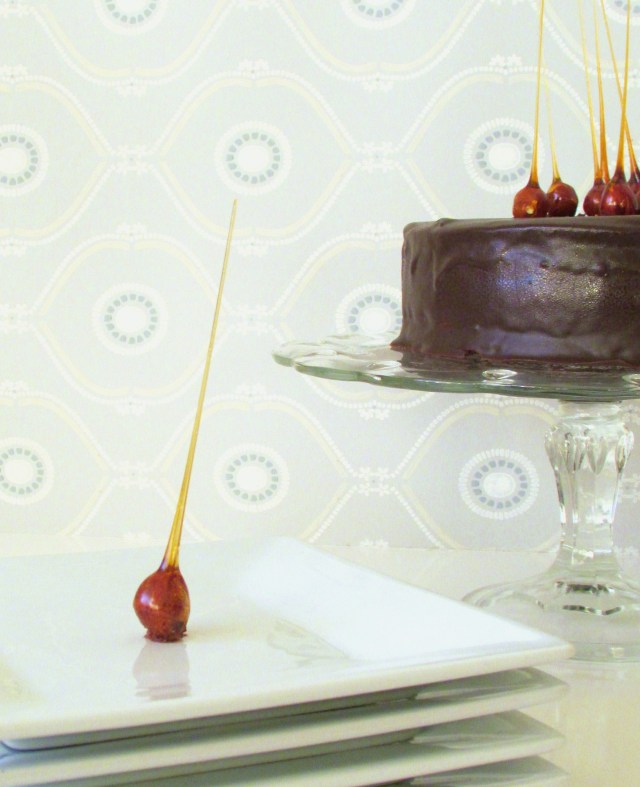
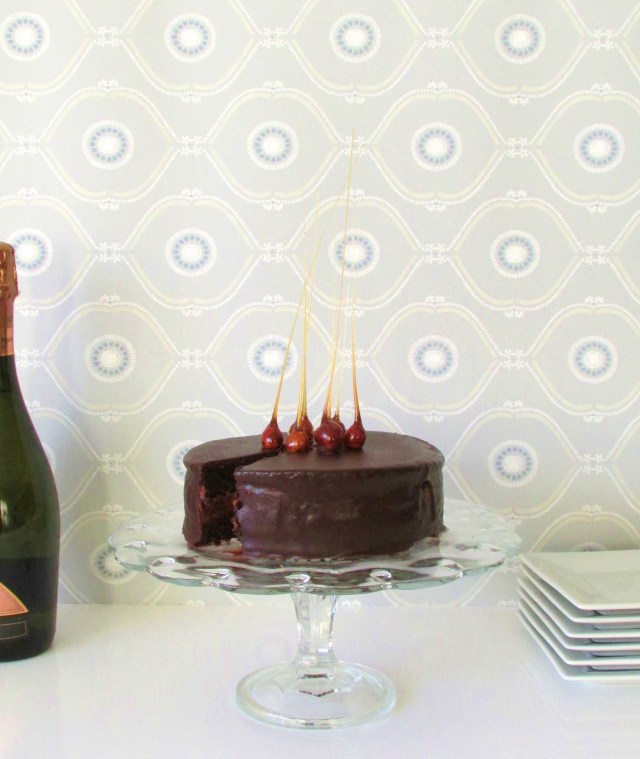
On a rainy Thursday evening last week, the Francois women and I headed down to the newly opened Marin Restaurant on Hennepin Avenue in Minneapolis for a pre-theater dinner. As a lover of all things Bay Area, I was super excited to try their Marin County inspired menu. While dinner was really quite good, the desserts were, in a word, incredible. We selected several desserts to share and were amazed by the beautiful presentation and delicate accouterments adorning each one: sugar rolled blackberries on the lemon tart, a fresh lavender sprig atop the chocolate lavender mousse mini, but the pièce de résistance was the caramelized hazelnut spike crowning the Tanariva Chocolate Square which seemed to defy gravity as it spiked upward from the top of the dessert. When the weekend hit and I found myself still thinking about how cool those spikes were, I knew I had to try to create them myself.
I am by no means, an expert baker or cook, so these were a little daunting, but I was able to pull from two different sources to help me wrap my head around the process. Cook in France explains in great detail how to make hard caramel, and Brave Tart breaks down how to achieve the “spike.”
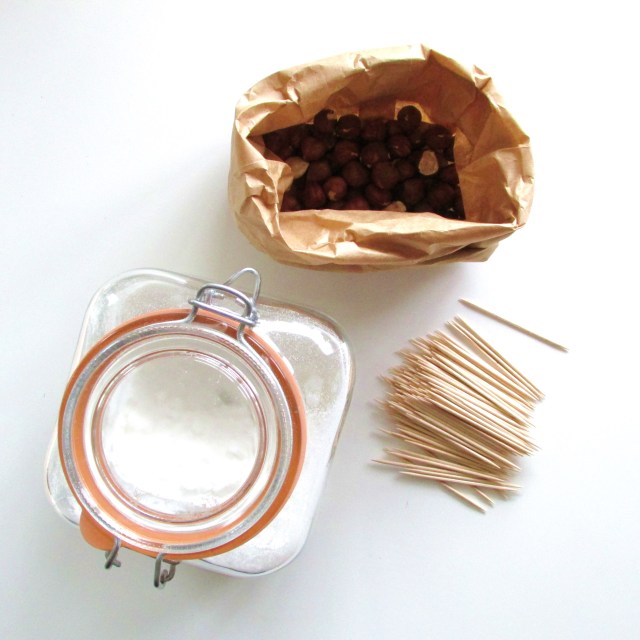
Ingredients and Special Materials:
- 500 grams (2- 1/4c) Superfine Baker’s Sugar. I use C&H Baker’s Sugar (Sold at Byerly’s).
- 100 ml Cold Water
- 1 tbps Light Corn Syrup
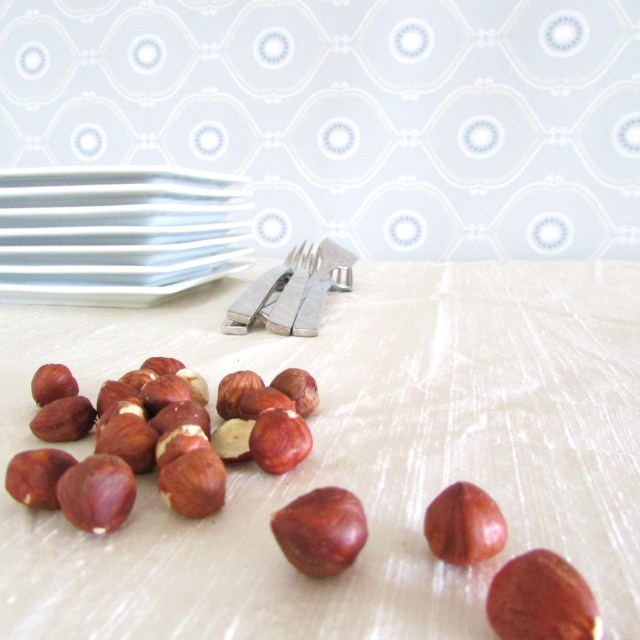
- 1/2 cup Raw or Toasted Hazelnuts
- Toothpicks
- Candy Thermometer
- Heavy Cutting Board
- Parchment or Wax Paper Lined Baking Sheet
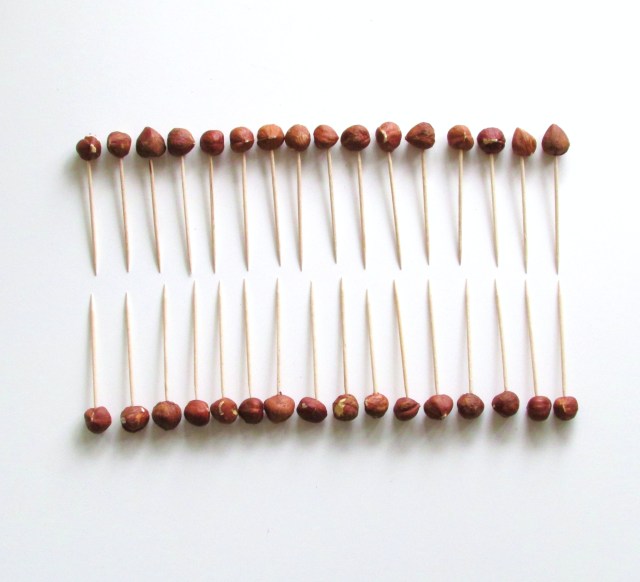
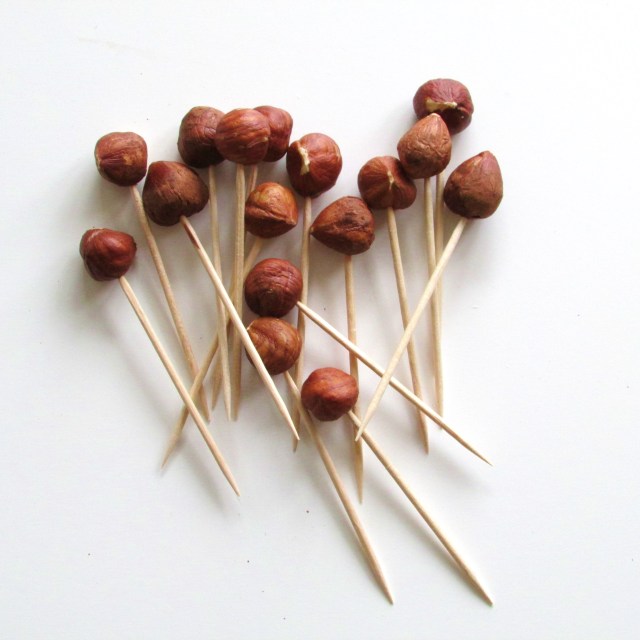
Step 1: Push a toothpick into the side of each hazelnut about an 1/8 of an inch. If you push in too far, the hazelnuts will split. The toothpicks allow you to dip the hazelnuts without touching the caramel.
Step 2: Place your heavy cutting board so that it’s flush with the edge of the counter top, and set your parchment lined baking sheet on the floor beneath where the cutting board is sitting to catch caramel drips.
Step 3: Place sugar, water and corn syrup in the smallest saucepan you have, and heat on low until the sugar has dissolved. It sounds strange, but don’t stir the ingredients together. If anything disturbs the mixture, crystals will start to form around the edges, and you don’t want that. Don’t worry though, as the mixture heats up, the sugar will dissolve.
Step 4: While you’re waiting for the sugar to dissolve, prepare an ice bath. I just placed a large bowl in my sink, and filled it with cold water and ice.
Step 5: Once the sugar dissolves/liquifies, turn the heat all the way up to high and bring to a boil. Remember to resist the urge to stir the mixture. When it begins to boil, clip your candy thermometer to the side of the pan and boil vigorously until the mixture reaches 185 C, and is amber in color.
Step 6: Turn off the cooktop, and briefly place the pan in the ice bath to stop the cooking. Then place the pan on a trivet or cooking rack on the counter. Be careful not to touch the caramel; it’s extremely hot!
Step 7: At this point, begin dipping the hazelnuts. Try to work quickly if you can, as you only have so much time before the caramel hardens. After covering the hazelnut completely in caramel, point the top of the hazelnut toward the floor and secure the toothpick between the heavy cutting board and the counter top. The excess caramel will drip down to the parchment lined pan like a caramel icicle.
Step 8: Once the caramel hardens (this will happen pretty quickly), turn the spikes right side up, remove the toothpicks, and break the spikes to your desired height. And there you go!



Charisma
October 24, 2013 at 1:08 pmThis looks absolutely divine! Love the caramel dipped hazelnuts!
francoisetmoi
October 24, 2013 at 1:14 pmThanks Charisma! I’m loving your Lemon Tart. So yummy!
Sheth's Perspective
October 24, 2013 at 1:15 pmI would love to try this out!
Olived
October 24, 2013 at 3:31 pmVery cool!
Sarah Carlson
December 16, 2013 at 8:43 pmGorgeous Erin! I made an attempt at these today for my mom’s birthday cake…they didn’t turn out quite as beautiful as your’s did, but they still make a statement!
francoisetmoi
January 23, 2014 at 2:37 amSo fun, Sarah–I bet she loved it!
Beck
May 30, 2015 at 3:00 ambeautiful! Worked really well, though I did find it was much better once the toffee cooled down just a little & thickened: then I got really good ‘drips’. When it was really hot it just ran off & didn’t spike. Only got burnt once, when a just dipped macadamia touched my little finger! Thanks for sharing
francoisetmoiblog@gmail.com
June 11, 2015 at 5:00 pmRebecca, I’m so glad you tried it! I had so much fun making these.
Helen
August 7, 2015 at 5:43 pmQuick question – if I make these a day ahead, can I store and transport them in a container?
francoisetmoiblog@gmail.com
August 8, 2015 at 9:52 amHelen–Good question! They do start to wilt the next day, but I live in a humid area. If you’re in a drier area, you might be fine!