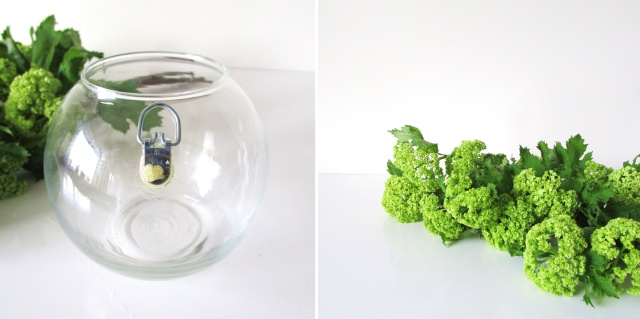
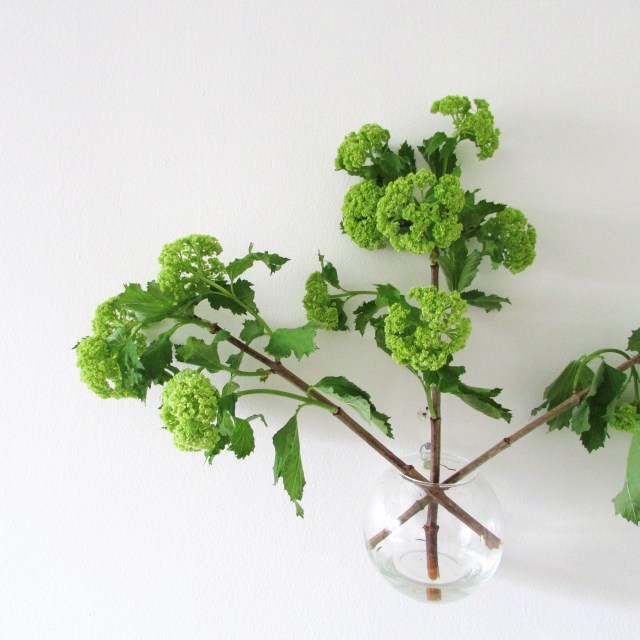
I had an overwhelming urge this weekend to embrace Spring at home (though things had cooled off again), it didn’t matter. We had a dose last week of the warm weather to come, and I wanted to keep the spring fever going. From sparkling grapefruit soda to deep cleaning to fresh flowers, we did our best to cultivate our own spring at home. I picked up a few bunches of flowers, placed them around our place, and created a wall-hung vase for our bedroom using a thrifted round vase ( $.99 at Goodwill!) and a wall bracket. It came together super easily and makes for a simple, spring focal point (that smells amazing!) in our bedroom. 
Materials List:
- 5″ – 6″ round glass vase (thrifted)
- 1 D-Ring picture hanger
- Gorilla Glue
- Flowers
- Nail + Hammer
Step 1. Prep the vase: Moisten the area on the glass vase with a wet papertowel where the bracket hanger is to be adhered. (Gorilla glue cures best with moisture.)
Step 2: Adhere the bracket part of the hanger to the vase roughly an inch down from the opening of the vase. Apply glue to the bracket and press firmly onto the vase.
Step 3. Prop the vase up on it’s side (so the bracket faces the ceiling) for 24 hours until the glue is expanded and dried. As you can see in the left image below, when the glue expands, it’s not super pretty, but it is a very strong hold, and you won’t see the bracket once you add the flowers!


Charlotte
April 23, 2014 at 5:17 pmThis is so beautiful and creative <3 I love it! XO
DIY Wall Vase - Francois et Moi
August 17, 2016 at 11:28 am[…] been borderline obsessed with hanging vases of flowers on my walls, and it all started with this wall vase version a few years ago where I’d adhered a picture hanger to a vase with heavy duty adhesive and […]